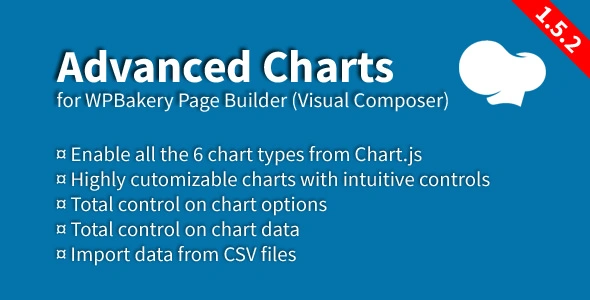
Advanced Charts Add‑on for Visual Composer is a premium extension for WPBakery Page Builder that integrates Chart.js into the builder interface, enabling users to create interactive, customizable charts and data visualizations directly within WordPress without coding.
🌐 Overview
- Purpose: Enhance WPBakery/Visual Composer with advanced charting and data visualization tools.
- Audience: WordPress site owners, developers, agencies, and bloggers needing professional data presentation.
- Integration: Built on Chart.js, fully compatible with WPBakery Page Builder.
🔑 Key Features
- Chart.js Integration: Access all major chart types (line, bar, pie, radar, polar area, doughnut, bubble, scatter).
- Visual Composer Controls: Configure charts directly in the WPBakery interface with no coding required.
- Interactive Charts: Hover effects, animations, and tooltips for engaging data presentation.
- Customizable Styles: Adjust colors, labels, legends, and responsiveness to match site design.
- Dynamic Data Support: Pull data from WordPress posts, custom fields, or external sources.
- Responsive Design: Charts adapt seamlessly to mobile, tablet, and desktop layouts.
- Multiple Chart Instances: Add unlimited charts across pages and posts.
- Export Options: Save charts or integrate them into reports and presentations.
⚙️ How It Works
- Install Add‑on: Activate Advanced Charts within WordPress.
- Open WPBakery: Add a chart element to your page or post.
- Configure Chart: Select the chart type, enter data, and customize the appearance.
- Publish: Display interactive charts directly on your site.
📊 Comparison Table
| Feature |
Advanced Charts Add‑on |
Default WPBakery |
| Chart Types |
8+ (Chart.js supported) |
None |
| Interactive Features |
Tooltips, animations |
No |
| Data Integration |
WordPress fields, external data |
No |
| Customization |
Full styling options |
Limited |
| Responsiveness |
Yes |
N/A |
⚠️ Considerations
- Requires WPBakery Page Builder: Cannot function standalone.
- Discontinued by Developer: Latest version (v1.6) is stable but no longer actively updated
- Compatibility: Works best with modern WordPress themes and Chart.js features.
✅ Best For
- Agencies presenting client data visually.
- Bloggers showcasing statistics or survey results.
- Businesses need dashboards or performance charts.
- Educators are creating interactive learning materials.
In short, Advanced Charts Add‑on for Visual Composer transforms WPBakery into a powerful data visualization tool, letting you build interactive, responsive charts with ease—ideal for anyone needing professional, code‑free charting inside WordPress.
Would you also like me to prepare a short description for the catalog listing, consistent with the plugin summaries we’ve done earlier?
🛠️ How to Install GPL Themes & Plugins from GPLFox.com
1. Download Your Theme or Plugin
- Visit GPLFox.com and log in to your account.
- Browse or search for the theme/plugin you want.
- Click Download to get the
.zip file onto your computer.
2. Install via WordPress Dashboard
- Log in to your WordPress Admin Panel.
- Go to:
- Themes → Appearance > Themes > Add New > Upload Theme
- Plugins → Plugins > Add New > Upload Plugin
- Click Upload, then select the
.zip file you downloaded from GPLFox. - Press Install Now.
3. Activate the Theme or Plugin
- Once installed, click Activate.
- For themes: your site will immediately switch to the new design.
- For plugins: the plugin will be enabled and ready to configure.
4. Configure Settings
- Most premium themes/plugins include customization options.
- Navigate to the theme’s Customizer or plugin’s Settings panel.
- Adjust layouts, features, and integrations as needed.
5. Keep Files Updated
- GPLFox provides updated versions regularly.
- Re‑download the latest
.zip from GPLFox and repeat the upload process to update your theme/plugin.
✅ Tip for Users: Since GPL products don’t require license activation, you can use them right away after installation. Just make sure to keep them up to date for security and compatibility.