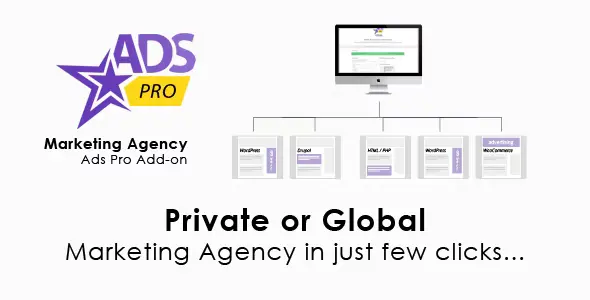
Ads Pro Add-on – WordPress Marketing Agency This add‑on extends the Ads Pro Plugin by adding specialized tools for marketing agencies, enabling them to manage multiple clients, campaigns, and ad placements from a single WordPress installation. It’s designed to streamline workflows for agencies handling advertising for multiple brands, offering advanced reporting, client dashboards, and monetization options.
🌐 Overview
- Purpose: Provide agencies with a centralized ad management system inside WordPress.
- Audience: Marketing agencies, freelancers, and businesses managing multiple ad clients.
- Integration: Works seamlessly with Ads Pro Plugin, WooCommerce, and popular ad networks.
🔑 Key Features
- Multi‑Client Management: Create separate dashboards for each client with role‑based access.
- Campaign Control: Manage unlimited ad campaigns with scheduling, targeting, and rotation.
- Client Dashboards: Give clients access to view performance reports and manage their ads.
- Advanced Reporting: Track impressions, clicks, CTR, and revenue per campaign or client.
- WooCommerce Integration: Sell ad spots and packages directly through WooCommerce.
- Custom Pricing Models: Offer CPM, CPC, or CPD billing options.
- White Labeling: Replace Ads Pro branding with your agency’s identity.
- Responsive Ads: Ensure ads look great across devices and screen sizes.
- Geo‑Targeting: Deliver ads based on visitor location.
- Fraud Prevention: Detect invalid clicks and impressions.
⚙️ How It Works
- Install Ads Pro Plugin + Add‑on.
- Set Up Clients: Create accounts with role‑based permissions.
- Create Campaigns: Define ad formats, placements, and targeting rules.
- Sell Ad Spots: Use WooCommerce integration for billing and checkout.
- Monitor Performance: Generate detailed reports for each client and campaign.
📊 Comparison Table
| Feature |
Ads Pro + Marketing Agency Add‑on |
Standard Ads Pro |
| Multi‑Client Support |
Yes |
No |
| Client Dashboards |
Yes |
No |
| WooCommerce Packages |
Yes |
Limited |
| White Labeling |
Yes |
No |
| Advanced Reporting |
Yes |
Basic |
⚠️ Considerations
- Requires Ads Pro Plugin: This is an add‑on, not a standalone.
- Premium License: Advanced features are only available in Pro.
- Setup Time: Agencies may need to configure multiple dashboards and billing models.
✅ Best For
- Marketing agencies manage multiple clients and campaigns.
- Freelancers offering ad management services.
- Businesses selling ad space with client reporting.
- Publishers monetizing sites with advanced ad packages.
In short, Ads Pro Add‑on – WordPress Marketing Agency transforms Ads Pro into a full agency‑grade advertising platform, with multi‑client dashboards, advanced reporting, WooCommerce billing, and white labeling for professional ad management.
🛠️ How to Install GPL Themes & Plugins from GPLFox.com
1. Download Your Theme or Plugin
- Visit GPLFox.com and log in to your account.
- Browse or search for the theme/plugin you want.
- Click Download to get the
.zip file onto your computer.
2. Install via WordPress Dashboard
- Log in to your WordPress Admin Panel.
- Go to:
- Themes → Appearance > Themes > Add New > Upload Theme
- Plugins → Plugins > Add New > Upload Plugin
- Click Upload, then select the
.zip file you downloaded from GPLFox. - Press Install Now.
3. Activate the Theme or Plugin
- Once installed, click Activate.
- For themes: your site will immediately switch to the new design.
- For plugins: the plugin will be enabled and ready to configure.
4. Configure Settings
- Most premium themes/plugins include customization options.
- Navigate to the theme’s Customizer or plugin’s Settings panel.
- Adjust layouts, features, and integrations as needed.
5. Keep Files Updated
- GPLFox provides updated versions regularly.
- Re‑download the latest
.zip from GPLFox and repeat the upload process to update your theme/plugin.
✅ Tip for Users: Since GPL products don’t require license activation, you can use them right away after installation. Just make sure to keep them up to date for security and compatibility.