“Flexora – Chiropractors Message and Physical Therapists WordPress Theme” has been added to your cart.
View cart
“Flexora – Chiropractors Message and Physical Therapists WordPress Theme” has been added to your cart.
View cart
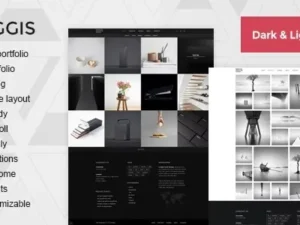
“Manggis – Creative Portfolio and Blog Theme” has been added to your cart.
View cart


Reviews
There are no reviews yet.